Skip to content

Unit: Adjusting cabinets on-site

Section: Using tools on-site

MSFKB3004: Conduct on-site adjustments to cabinets

Competencies covered

MSFKB3004: Conduct on-site adjustments to cabinets

Hand tools


Image for slide 1
Audio for slide 1 (mp3 |6|KB)
The hand tools that you use to carry out adjustments on-site will depend on the type of installation you're doing and the materials you're working with.

Below are some of the most common tools used by installers.

hearing icon
Image for slide 2
Audio for slide 2 (mp3 |6|KB)

Claw hammer

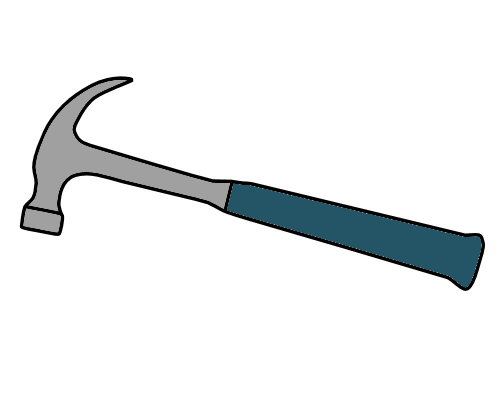
A claw hammer is basically designed for driving in and pulling out nails. It is also used for hitting chisels and punches, and tapping components into position.

hearing icon
Image for slide 3
Audio for slide 3 (mp3 |6|KB)
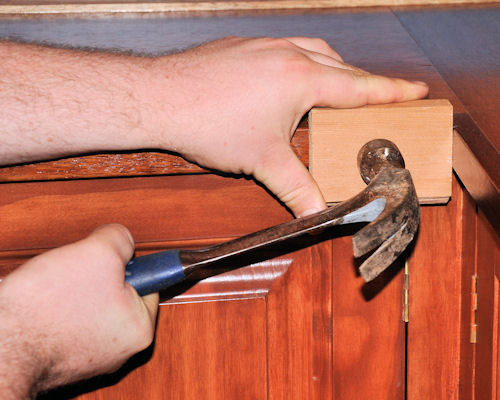
Always use a block of wood to protect finished surfaces if you need to tap them with a hammer.

Soft timbers can end up with '20 cent piece' indentations if you're not careful, and laminates can crack, indent or chip.

hearing icon
Image for slide 4
Audio for slide 4 (mp3 |6|KB)

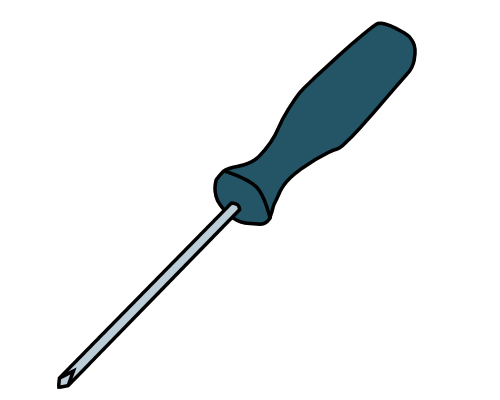
Screw driver

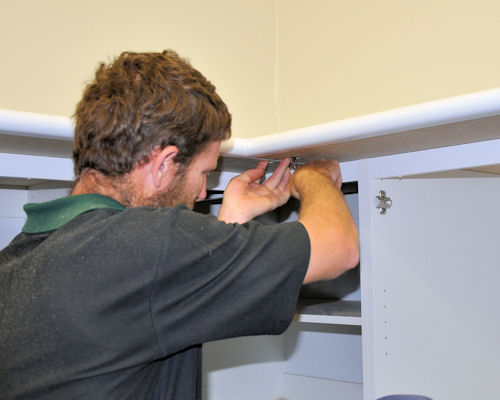
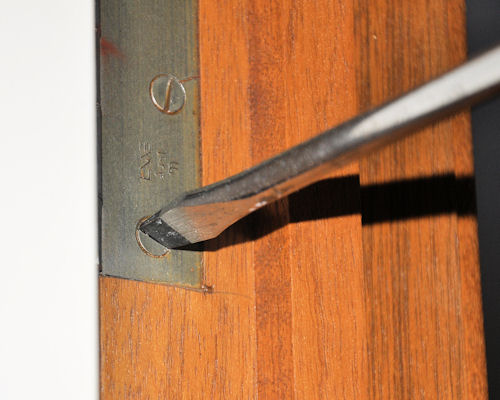
Screwdrivers come in a range of head types, the most common being 'flat' (also called 'standard') and Phillips.

hearing icon
Image for slide 5
Audio for slide 5 (mp3 |6|KB)
Be sure to use the correct sized head for the screw you're turning.

If the head is too small or too big for the screw, it can easily slip out and damage the screw slot or scratch nearby surfaces.

hearing icon
Image for slide 6
Audio for slide 6 (mp3 |6|KB)

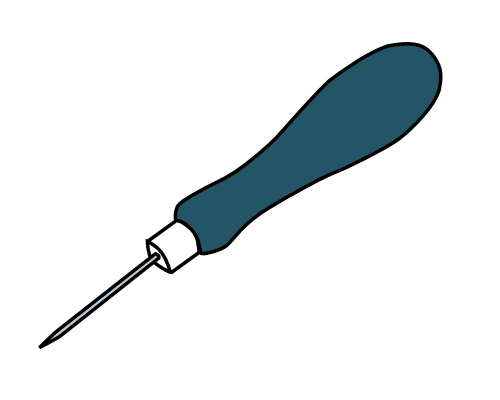
Bradawl

A bradawl is used to prepare a small hole for a screw, and is particularly useful when you need to break through a melamine surface by hand. To use a bradawl, push the head into the material while you're twisting it back and forth.

hearing icon
Image for slide 7
Audio for slide 7 (mp3 |6|KB)

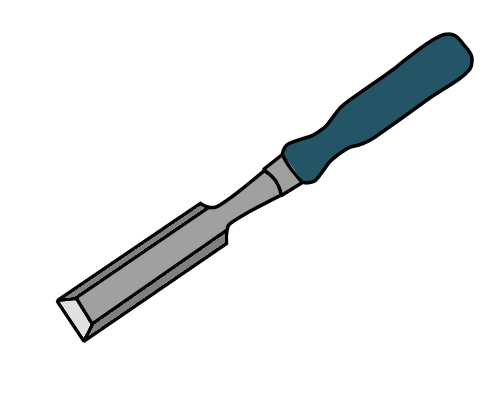
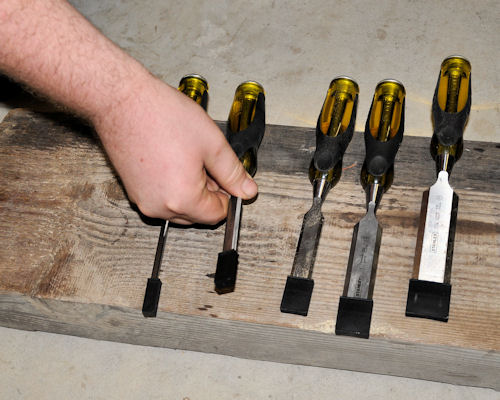
Chisel

Chisels have a sharp edge designed for cutting wood. You can cut other materials with a chisel, such as melamine-faced particleboard, but it will blunt your chisel more quickly.

hearing icon
Image for slide 8
Audio for slide 8 (mp3 |6|KB)
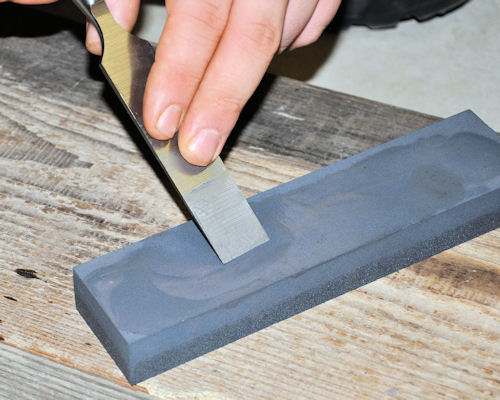
Keep your chisels sharp, and hone them regularly while you're working.

When you're not using the chisel, make sure the edge is well protected from anything that might burr or blunten it, especially when it goes back into the toolbox.

This could include putting a cap on the end or rolling it up in a protective bag.

hearing icon


Learning activity

Image for slide 9
Audio for slide 9 (mp3 |6|KB)

Sharp chisels are a joy to use. Blunt chisels, by contrast, don't cut cleanly and can be downright dangerous if you have to apply excessive force to use them. So good hand-sharpening techniques with an oilstone are an essential part of every cabinetmaker's professional skills.

What are your skills like with hand sharpening? If you're unsure about the proper techniques to use, ask your supervisor or trainer for assistance. If you're already confident with your general technique, it's still worth practising your skills and trying to get the best result possible each time you hone the edge.

hearing icon

  Go to  Power tools