Skip to content

Unit: Checking fit of cabinets

Section: Checking measurements

MSFKB3003: Check and measure fit of cabinets

Competencies covered

MSFKB3003: Check and measure fit of cabinets

Room dimensions


Image for slide 1
Audio for slide 1 (mp3 |6|KB)
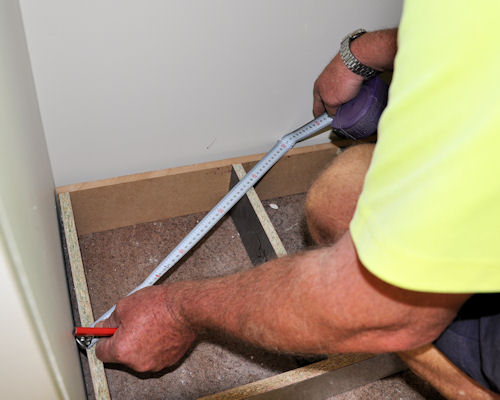
Rooms should be checked for square and measured from wall to wall and floor to ceiling.

Any other features in the room, such as doorways, windows, built-in pantries or structural elements that will affect your work should also be measured.

hearing icon
Image for slide 2
Audio for slide 2 (mp3 |6|KB)
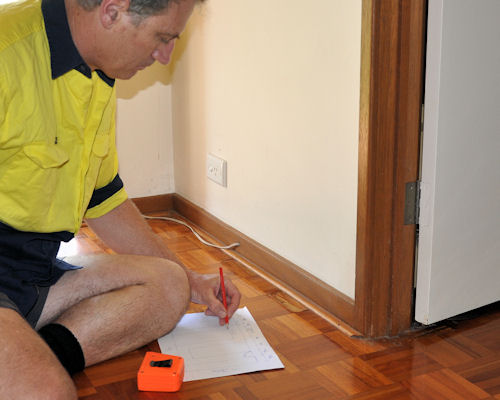
The best way to record measurements is to sketch a floor plan and elevations of the room and mark in the measurements as you go.

We discussed the process of sketching a floor plan and elevations in the unit: Installation requirements.

Go back to that unit now if you need to revise the symbols used in floor plans or the details of how to go about producing a quick sketch on-site.

hearing icon
Image for slide 3
Audio for slide 3 (mp3 |6|KB)

Wall to wall measurements

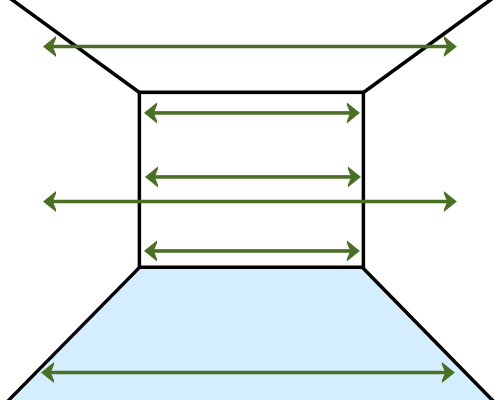
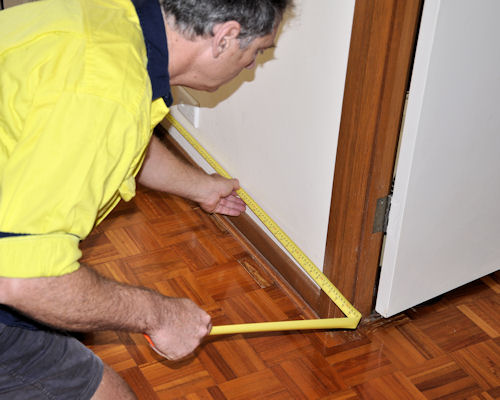
Wall to wall measurements should be taken at the top, middle and bottom of the walls. Don't forget to mark in the thickness of skirting boards if they've already been fitted.

Do this in two separate positions, so you can be confident you've allowed for the possibility that the walls aren't running parallel to each other.

hearing icon
Image for slide 4
Audio for slide 4 (mp3 |6|KB)

Floor to ceiling measurements

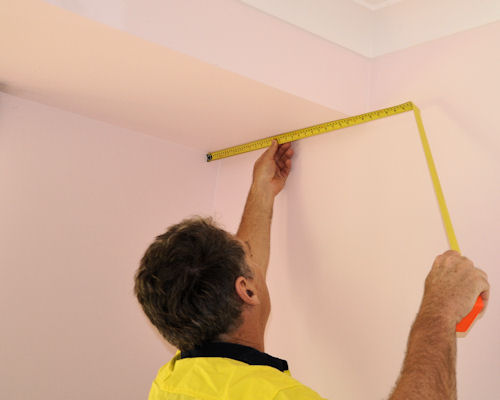
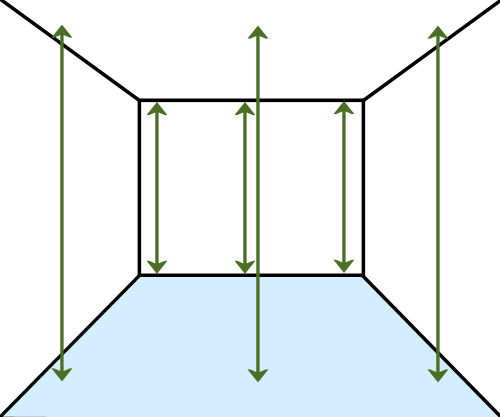
Floor to ceiling measurements should be taken at each end of the wall, and also in the middle if it's a long wall.

Again, measurements should be taken in two separate positions. This will help you to pick up variations in floor or ceiling levels.

hearing icon
Image for slide 5
Audio for slide 5 (mp3 |6|KB)

Doors, windows and other features

Doors, windows, columns and other features that will have an effect on your installation should be marked on an elevation of that wall. Depending on the wall, you might also need to include the positions of power points, plumbing outlets, phone sockets, air conditioning vents and other services.

We'll look at these in more detail in the lesson: Service outlets.

hearing icon
Image for slide 6
Audio for slide 6 (mp3 |6|KB)

Checking for square

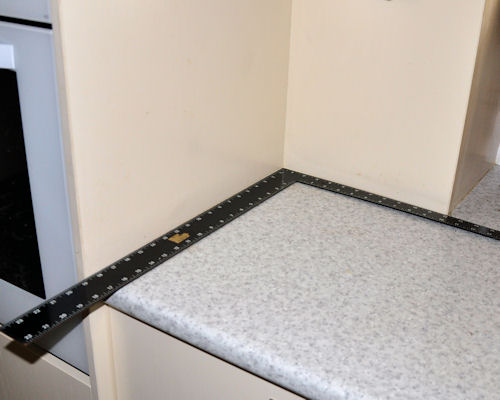
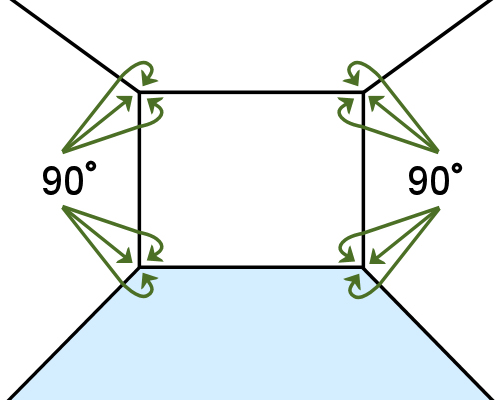
An angle is square if it is at 90 degrees - in other words, a 'right angle'. When a room is square, its opposite walls are parallel to each other, and the corners are all at 90 degrees.

hearing icon
Image for slide 7
Audio for slide 7 (mp3 |6|KB)
Note that saying a room is 'square' is not the same thing as saying it is 'a square'.

You'll remember from your school days that a square has 4 equal sides.

But in building terms, any rectangular room is 'square' when its walls meet at 90 degrees.

hearing icon
Image for slide 8
Audio for slide 8 (mp3 |6|KB)
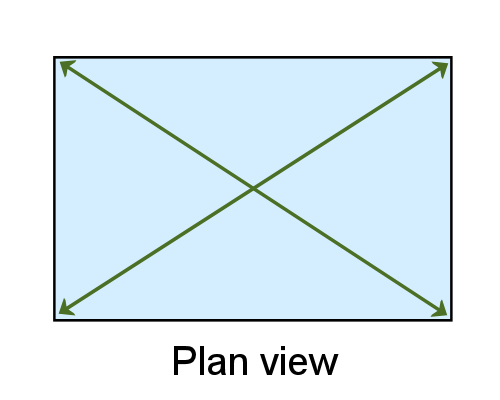
To check a rectangular room for square, all you need to do is measure the diagonals.

If they're not the same, then the room isn't square.

hearing icon
Image for slide 9
Audio for slide 9 (mp3 |6|KB)
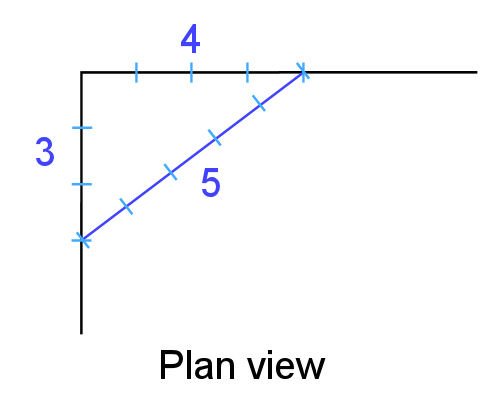
If the room is open and doesn't have 4 corners, you can still check an angle for square by using the '3, 4, 5 method'.

Measure 3 units along one wall and mark the point, and 4 units along the other wall and mark the point.

The distance between the two points should be 5 units.

hearing icon


Learning activity

Image for slide 10
Audio for slide 10 (mp3 |6|KB)

Try the 3, 4, 5 method for yourself to prove that it works. Get a tape measure, find a right angled corner that you know is square, and take the three measurements. Note that a 'unit' can be anything you like, as long as it's the same for all three sides of the triangle. So your measurements could be 3 m - 4 m - 5 m, or 300 mm - 400 mm - 500 mm, or 600 mm - 800 mm - 1000 mm, or another other multiple of 3 - 4 - 5.

You'll see a full explanation of this technique in the unit: Making measurements. Go to it now if you have any questions in your mind about how this technique works.

hearing icon

  Go to  Plumb checks